
In daily life, we often encounter issues with door closers: the door might seem to be closing quietly but then suddenly slams shut with a loud bang, or it gets stuck right at the end and fails to close completely. Most of the time, these problems stem from incorrect adjustment. The adjustment process is simple—let’s take a look.
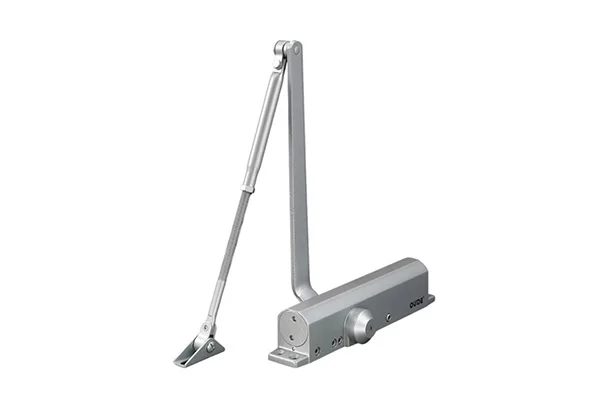
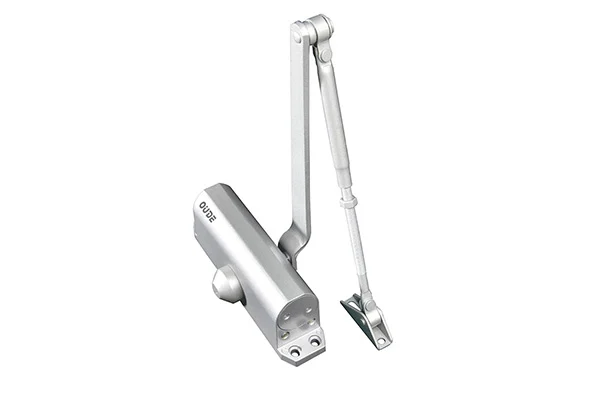
First, locate the adjustment valves on the side of the door closer, marked “1” and “2.” Valve “1” controls the speed of the initial closing phase, while valve “2” controls the speed of the final latching phase. If the door closer has a hold-open function, there will be an additional positioning screw to control the angle at which the door stays open.
Next, adjust the closing speed. Use a screwdriver to turn screw “1” clockwise, testing the door’s movement after every half-turn until the speed feels right. Then, move on to screw “2” for the latching phase. The closing speed here should be slightly slower than in the initial phase; this ensures the latch engages securely without the door slamming shut noisily. Again, make small adjustments and test repeatedly to find the optimal speed.
If the unit has a hold-open function, open the door to your desired angle and adjust the positioning screw. Tighten it until the door stays fixed at that angle but still closes normally when moved to a smaller angle. Once adjustments are complete, remember to replace the dust caps on the screws to prevent dust and oil buildup, which could affect future performance.
It is also important to monitor the condition of the door closer regularly. If the speed remains inconsistent after adjustment, or if there is oil leakage, the internal hydraulic mechanism is likely damaged. In such cases, adjusting the screws will no longer help, and the door closer needs to be replaced.